11 Jul Pick the Perfect Aerial Hoop For Your Home
Buying a brand-new aerial hoop is a real commitment. I am sure it is an investment you also want to get right the first time. This is the guide for you covering how to pick your hoop size, and everything you need to consider for home practice.
Quick note before we get into it: this post is about choosing and buying a hoop, not about rigging or installing your rig point. If you’re looking for how to actually hang your hoop safely, check my rig points install guide.
I Learned Hoop With a 2.6m Ceiling — Here's What Made It Work
My first ceiling was 2.6m, which is pretty standard for an apartment. That’s low. I couldn’t do a lot of the big extension tricks you see in studios with 4-5m rigs. But with the right hoop and the right gear, I still learned a lot — under-bar work, spins, conditioning, foundational tricks — all in that space.
If you’re practicing in a low-ceiling apartment or home studio too, the choices below (especially the swivel at the end) are exactly what I’d recommend to squeeze the most usable space out of what you’ve got.
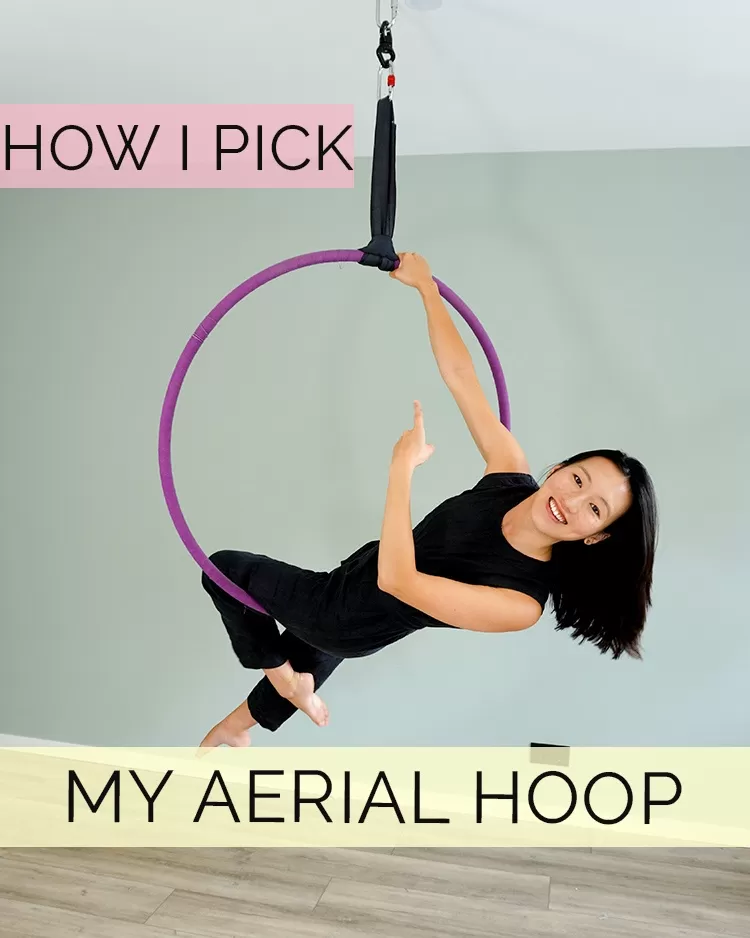
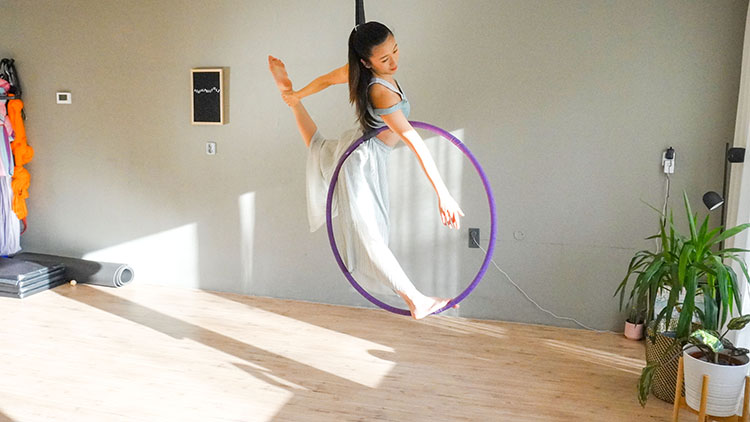
📏 Size: Mine is 95cm, i am 170cm tall.
Start Smaller, Size Up Later
When I was just starting out, I went with a smaller hoop. With “baby strength” as a beginner, a smaller hoop is genuinely easier to move, control, and hold your shape in — there’s less hoop to fight.
As I got stronger, I found that a properly-sized hoop actually let my body fit and move through it better, especially for tricks where you need to pass your whole body through the frame.
So my honest recommendation: don’t feel like you need to buy your “forever size” on day one. Consider your current strength, what you plan to work on, and your space limitations — and know that sizing up later, once you’ve built strength and skill, is a completely normal progression.
(If you go with a single-point hoop like mine, you can also rig with no sling at all — just a carabiner — for maximum underbar space, letting you hang upside down without your head reaching the floor.)
🧵 Tape: I do both but taped is best for starting out.
Grip vs Glide
Taped hoops give you a stronger grip, which is why I’d point most beginners toward tape — you’re not fighting sweaty hands or slipping off while you’re still building strength and confidence.
Untaped hoops are more fun if you love sliding and rolling around the bar — and they’re less painful for that style of movement, since tape can grip and pinch skin during slides.
A tip if you’re ordering a hoop: pick your color, then add two rolls of tape to your order and ask the seller to tape it before shipping. Taping a hoop yourself takes real patience, so it’s worth having it done for you.
And this isn’t a permanent decision either way — tape can be removed later if you decide you want to go untaped, so you’re not locked in.
Spansets: how I maximize air space for movement
Get 0.5m and 1m to start
To start, you’ll want a minimum of two spansets:
- 0.5m sling — gives you some underbar space and some upper-bar space. This is a great length to start learning spins and basic control, since your legs can lift off and reach back down easily.
- 1m sling — gives you more room specifically for upper-bar tricks, where you need extra height to move and extend.
Both are essential for getting to know your way around the hoop — they cover different zones of movement, and you’ll likely use both regularly even as you progress.
(Invest in velvet spanset if you want your spanset to feel soft on your skin)
👶Baby Swivel
Don’t Forget: A Safety Mat Is Required, Always
No matter your hoop size, tape choice, or gear setup — a proper safety mat under your rig point is non-negotiable for every practice session.
This is the one piece of gear I’d call essential if you’re training under a low ceiling: a baby (mini) swivel.
In a low-ceiling setup, every inch matters. A baby swivel is significantly shorter than a standard swivel + carabiner setup, and swapping to one can gain you the equivalent of two carabiners’ worth of vertical space — space you can put straight into flying room instead of losing it to hardware.
<< Shop swivel on Amazon >>
This ended up being longer than I expected, but I hope it helps you feel confident picking your first (or next) hoop. Once you’ve got it and your rig point sorted, check out Aerial Hoop Basics to start building confidence as a beginner.

My name is Eunice Lisc, the aerial dancer on YouTube. I share my fun & challenging aerial journey with #aerialfam.
Join us for the next weekly aerial class on YouTube Aerial Studio! See you there!
Want weekly aerial hoop/hammock class? Join YouTube Membership 